
When your garage door doesn’t open or close properly, the issue often lies in the track alignment. A misaligned track can cause unnecessary wear and even pose safety risks. Performing a 1can restore your garage door’s performance, reduce noise, and extend the life of your door system. Whether you’re a DIY enthusiast or want to understand the process before hiring a professional, this guide will walk you through everything you need to know.
Why Track Alignment Is Crucial
If your garage door squeaks, shudders, or appears uneven, there’s a high chance the tracks are not properly aligned. A poor alignment can lead to:
- Uneven pressure on the door panels
- Jerky or slow movement
- Excessive noise while operating
- Door jamming or getting stuck
Fixing track alignment improves your garage door’s safety, efficiency, and longevity.
Signs Your Garage Door Track Needs Adjustment
To prevent further damage or complete system failure, look out for these warning signs:
- Door rubbing or dragging against the track
- Gaps between the roller and the track
- Grinding noises during operation
- Uneven door positioning
- The door reverses before closing completely
Tools Needed for Garage Door Track Adjustment
Before beginning the track adjustment process, gather the following tools:
- Adjustable wrench
- Screwdriver set
- Spirit level
- Stepladder
- Safety gloves and eyewear
Having the right tools ensures accuracy and safety during the procedure.
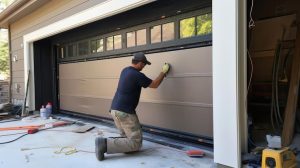
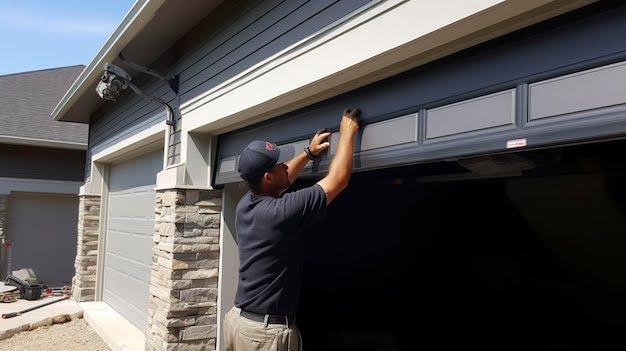
Step-by-Step Guide to Garage Door Track Adjustment
1. Disconnect the Power Supply
Always disconnect the opener or power supply to avoid accidents.
2. Loosen the Track Bolts
Using a wrench, slightly loosen the bolts holding the track in place. Do not remove them.
3. Align the Track
With the help of a level, straighten the track vertically and horizontally. Adjust as needed and keep checking the alignment.
4. Retighten the Bolts
Once the track is properly positioned, firmly tighten the bolts back into place.
5. Reconnect Power and Test the Door
After the adjustment, reconnect the power and open/close the door a few times to ensure smooth movement.
Mid-Tip: Don’t Skip This Crucial Step
One essential part of the process is balancing a garage door. A poorly balanced door can stress your opener and compromise safety. Always test the door balance by manually lifting it halfway—if it stays in place, it’s balanced. If it drops or shoots up, spring tension may need to be adjusted.
Common Mistakes to Avoid
Avoid these errors to ensure your garage door functions properly:
- Over-tightening track bolts
- Ignoring door balance issues
- Using improper tools
- Failing to test door movement after adjustment
These missteps can undo all your efforts and lead to costly repairs.
When to Call a Professional
While many homeowners can handle basic track adjustments, call a professional if:
- The door remains misaligned after multiple attempts
- You notice damage to the tracks or rollers
- There are loud grinding or squealing sounds
- You lack proper tools or mechanical skills
Experts have the knowledge and tools to handle complex issues safely and efficiently.
Final Thoughts
Maintaining your garage door starts with regular inspections and knowing how to perform basic adjustments. A properly aligned track is critical to your garage door’s health, noise levels, and longevity. By learning how to perform a garage door track adjustment and checking for balance, you can avoid bigger issues down the road and ensure smooth operation.