

Adding a bay window installation to your home is one of the fastest ways to boost curb appeal, flood rooms with natural light, and even raise property value—all without knocking down walls. This guide unpacks everything you need to know before committing: the design perks, the step-by-step process, cost considerations, and how to keep your new architectural focal point in peak condition for years to come.
Why Bay Windows Matter in Modern Home Design
Bay windows have been a hallmark of residential architecture for centuries, yet they remain just as relevant today. The blend of aesthetic charm and functional gains makes them a favorite among homeowners, real-estate agents, and designers alike.
The Architectural Impact
A bay projects outward from the main wall, instantly adding square footage—often enough for a cozy reading nook or a breakfast bench. The angled side panels also create panoramic views, visually enlarging interiors. For homes on small lots, this outward projection provides the illusion of a bigger footprint without violating setback requirements.
Energy Efficiency Benefits
Contrary to the myth that large windows equal heat loss, modern bay units incorporate low-E glass, argon gas fills, and insulated frames. These features cut thermal transfer and reduce drafts. According to the Efficient Windows Collaborative, high-performance windows can slash annual energy bills by up to 15 %. When installed correctly, a bay window can become an energy saver rather than a liability.
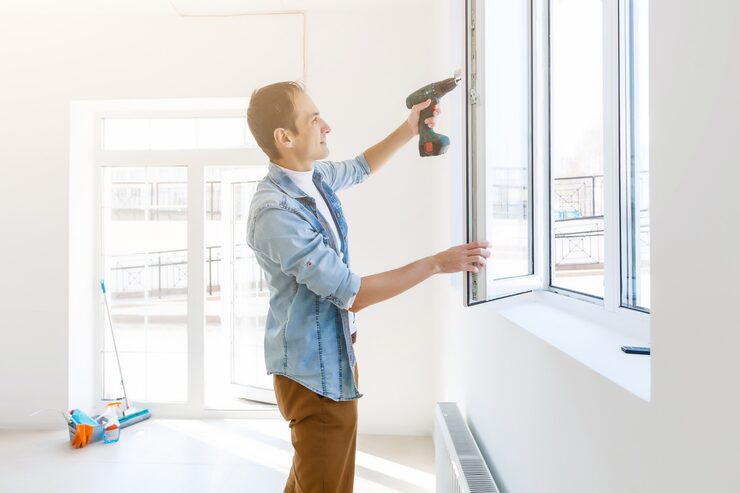
Step-by-Step Guide to a Successful Bay Window Installation
Proper planning and execution are critical. Below is a streamlined roadmap from concept to completion.
- Evaluation and Measurement
A contractor inspects wall load, framing, and exterior façade. Precise measurements ensure the new bay aligns with structural supports and existing trim. - Permitting and Structural Approval
Because a bay alters the envelope of the home, most municipalities require a building permit. Engineers may need to confirm that the existing header can bear the increased load or specify reinforcements. - Removal of Existing Window
The old unit is taken out, trim is removed, and the rough opening is prepped. Expect temporary supports inside and outside the wall. - Framing the Projection
Carpenters install a new header, seat board, and sidewalls. Proper flashing and sheathing prevent moisture infiltration. - Setting the Bay Window
The pre-assembled window is hoisted into place, leveled, and anchored to wall studs. Gaps are filled with low-expanding foam for insulation. - Exterior Finishing
Flashing tape, drip caps, and caulking seal the perimeter. Siding or masonry is patched to match the original façade. - Interior Trim and Insulation
Finish carpenters add interior casings, seat boards, and sometimes custom shelving. Fiberglass or spray-foam insulation is tucked into any remaining cavities. - Final Inspection
The contractor schedules a municipal inspection to close the permit and verify code compliance.
Preparing Your Home: Logistics and Temporary Moves
During installation, furniture near the work zone must be moved and protected. If you’re relocating elderly family members or downsizing at the same time, coordinating with senior moving services can streamline the process. They handle heavy lifting, packing, and timing so your new bay window project proceeds without household chaos.
Cost Considerations and Return on Investment
Pricing ranges from $3,000 for a small, vinyl-clad unit to $12,000 or more for a large custom bay with premium wood interiors. Here’s how expenses break down:
• Window unit: 40 % of total cost
• Labor: 35 %
• Structural reinforcements: 15 %
• Finishing and trim: 10 %
While the upfront price may seem steep, Remodeling Magazine’s Cost vs. Value Report shows that mid-range window replacements recoup roughly 68 % of their cost at resale. Factor in energy savings and the intangible benefit of improved aesthetics, and a bay often outperforms many other renovations dollar-for-dollar.
DIY vs Professional Bay Window Installation
A standard double-hung replacement may be a weekend project for a seasoned DIYer, but a bay is an entirely different undertaking. Structural modifications, precise weatherproofing, and heavy lifting require specialized tools and experience. A minor mistake—say, improper flashing—can result in costly water damage. Hiring a licensed, insured contractor not only ensures code compliance but also preserves manufacturer warranties that can be voided by self-installation.
Maintenance Tips for Longevity
- Inspect Caulking Twice a Year
Sealant can shrink or crack under UV exposure. Replace failed sections to keep moisture out. - Clean Glass with Non-Ammonia Solutions
Harsh chemicals can degrade low-E coatings. Use a soft cloth and mild soap. - Check Hardware and Crank Mechanisms
Lubricate hinges and cranks annually to prevent binding and improve ease of use. - Repaint or Reseal Wood Trim
Exterior wood components should be repainted every 3–5 years to shield against rot. - Monitor for Settling
Hairline cracks in interior plaster may indicate minor settling. Address promptly to maintain an airtight seal.
Conclusion: A Worthwhile Upgrade
A thoughtfully planned bay window installation delivers quadruple dividends: more daylight, extra floor space, enhanced curb appeal, and lower energy bills. From understanding structural requirements to mastering upkeep, homeowners who follow the steps outlined above can enjoy their striking architectural upgrade for decades.